
I have a ton of lavender bushes in the yard (thank you Anne!), and they are just starting to bloom.
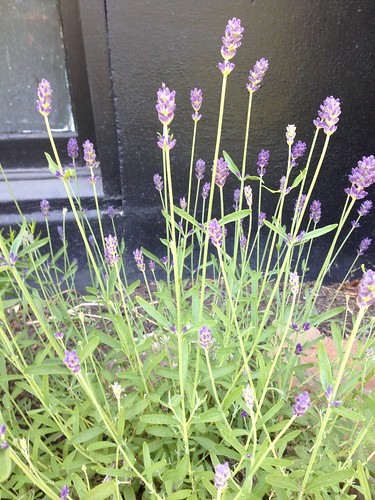
I've always wanted to make a lavender wand, and today seemed like the perfect day to sit on the front porch and give it a whirl.
I cut a bunch of stalks with well developed but not-yet-open buds. You need an odd number so the weaving works out right; this bundle had nineteen. You also need about a yard and a half of narrow ribbon.

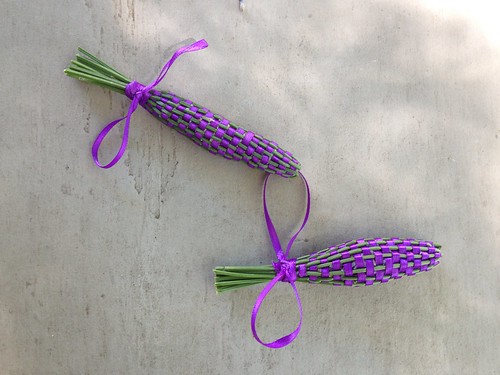
Line up the bases of the flower heads, and tie them tightly together with one end of the ribbon. Then carefully fold the stems down around the flowers to form a sort of basket or cage, and use the long free end of the ribbon to weave over-under-over-under in a spiral down the length of the flower heads. Keep the ribbon pulled snug around the flowers, but not so tight that you break the stems.

When you get to the bottom, wrap around the bundle of stems a couple times, tie a clove hitch to secure it, then a rabbit-ear bow. Trim the stems even.
And voila! My very first ever lavender wand.

This was fun and easy, so I made two more!
I foresee many lavender wands in my future this summer!
No comments:
Post a Comment